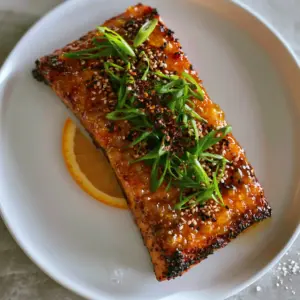
There is something undeniably nostalgic about a thick-cut square of raspberry crumble bars resting on a piece of rustic, crinkled white parchment paper. The way the soft morning sunlight hits the deep ruby-red jammy center, highlighting every tiny seed and fruit segment, makes these bars almost too beautiful to eat. Whether you are hosting a summer garden party or simply looking for the perfect treat to pair with your afternoon tea, this recipe delivers a bakery-quality result right from your home oven.
The magic of this dessert lies in its structural contrast. You start with a dense, pale buttery shortbread crust that provides a sturdy foundation. This is topped with an oozing layer of cooked raspberries that balances tartness and sweetness perfectly. Finally, a heavy, golden-brown toasted oatmeal crumble adds the necessary crunch, finished with a delicate, uneven dusting of fine white powdered sugar for that professional touch.
Achieving the perfect raspberry crumble bars requires more than just mixing ingredients; it’s about understanding the science of the bake. From the temperature of your butter to the way you macerate the berries, every step ensures that the final result is visually stunning and structurally sound. Let’s dive into why this specific recipe will become your new go-to dessert for any occasion.
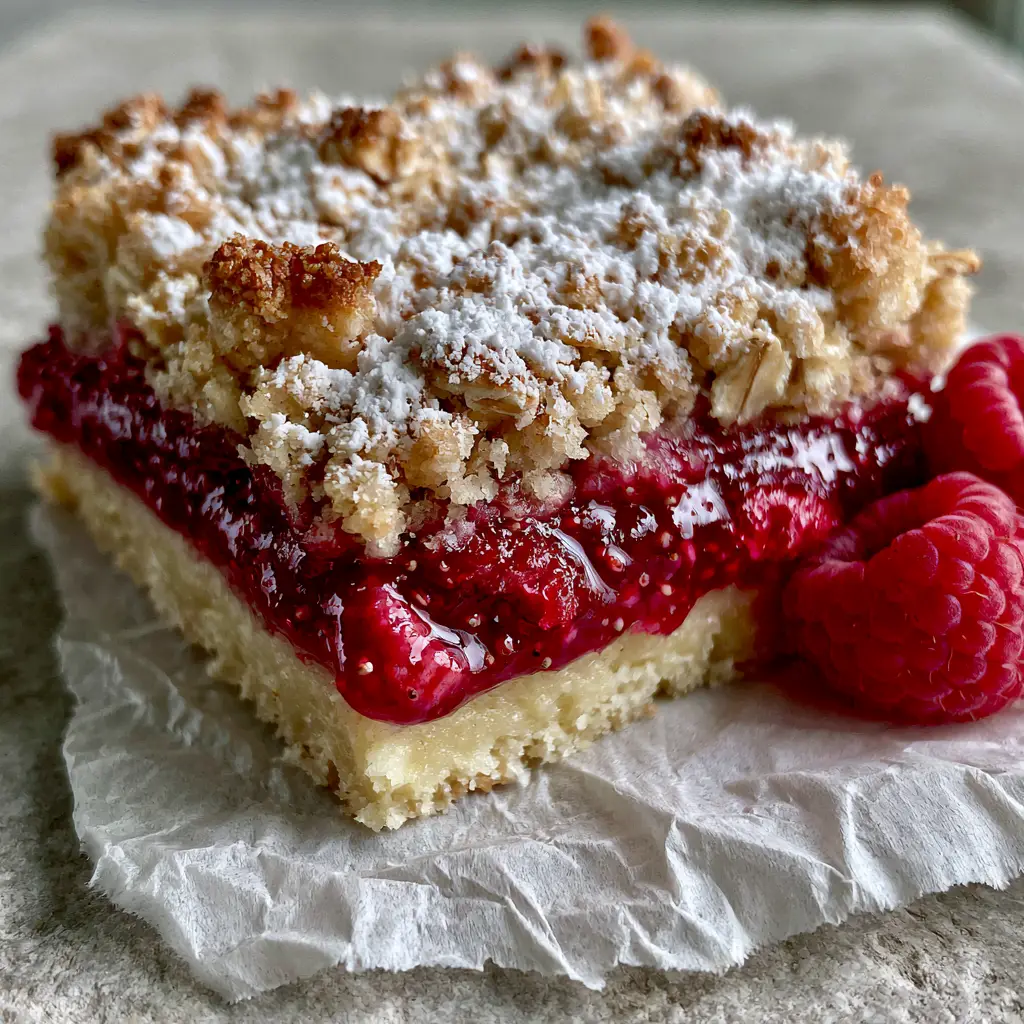
The Anatomy of a Perfect Fruit-Filled Dessert Bar
- The Multi-Textural Experience: You get a crisp base, a jammy center, and a chunky oat topping in every single bite.
- Visually Stunning Contrast: The deep ruby-red of the raspberries pops against the pale gold of the shortbread and the white powdered sugar.
- Make-Ahead Friendly: These bars actually slice better after they have cooled completely, making them ideal for busy hosts.
- Scientifically Balanced: We use lemon juice and salt to cut through the sugar, ensuring the raspberry flavor remains the star of the show.
If you are planning a full spread, these bars are the perfect sweet finish after a refreshing meal of creamy chicken salad or a light crispy cucumber salad. The tartness of the berries cleanses the palate beautifully after savory dishes.
Essential Ingredients for the Ultimate Shortbread Foundation
Unsalted Butter (1 cup / 227g): Use high-quality grass-fed butter if possible. The butter must be softened to room temperature to cream properly with the sugar, creating that dense yet tender shortbread texture described in our visual blueprint.
Granulated Sugar (1/2 cup / 100g): This provides the sweetness for the base without making it grainy. It also helps the edges of the crust achieve that very slight golden hue while keeping the center pale.
All-Purpose Flour (2 cups / 250g): This is the structural skeleton of your raspberry crumble bars. We measure by weight to ensure the crust isn’t too crumbly or too tough.
Vanilla Extract (1 tsp / 5ml): A foundational “invisible” ingredient that rounds out the buttery notes of the shortbread. Use pure vanilla for the best aromatic profile.
Fine Sea Salt (1/2 tsp / 3g): Never skip the salt in a shortbread. It heightens the flavor of the butter and prevents the crust from tasting one-dimensionally sweet.
Crafting the Jammy Raspberry Center with Visible Seeds
Fresh or Frozen Raspberries (3 cups / 375g): For the most vibrant “deep ruby-red” look, fresh berries are preferred, though frozen work well too. We keep some fruit segments whole to match the rustic macro visual of the recipe.
Cornstarch (2 tbsp / 16g): This is the secret to the “oozing” but stable layer. It thickens the natural juices released by the berries so the bars don’t become soggy.
Lemon Juice (1 tbsp / 15ml): The acidity acts as a natural pectin enhancer and brightens the deep red color of the fruit. It ensures the jam layer tastes like fresh fruit rather than candy.
Fresh Whole Raspberries (for garnish): We save a few plump, bright red raspberries to sit on the side of the parchment paper, just like in our professional visual prompt.
The Secrets to a Heavy Golden-Brown Oatmeal Crumble
Old-Fashioned Rolled Oats (1 cup / 90g): Avoid instant oats here. The rolled oats provide those “visible oat flakes” and “chunky clusters” that characterize a high-end crumble bar.
Brown Sugar (1/2 cup / 100g): The molasses in brown sugar is what gives the topping its “golden-brown toasted” appearance. It also adds a slight chewiness to the clusters.
Cold Butter (1/2 cup / 113g): Unlike the crust, the topping needs cold butter. When cold butter hits the hot oven, the water inside evaporates, creating steam and leaving behind those distinct, crunchy clusters.
Powdered Sugar (for dusting): A fine-mesh sieve is used to create that “delicate, uneven dusting” that mimics freshly fallen snow across the golden peaks of the oats.
Must-Have Kitchen Tools for Success
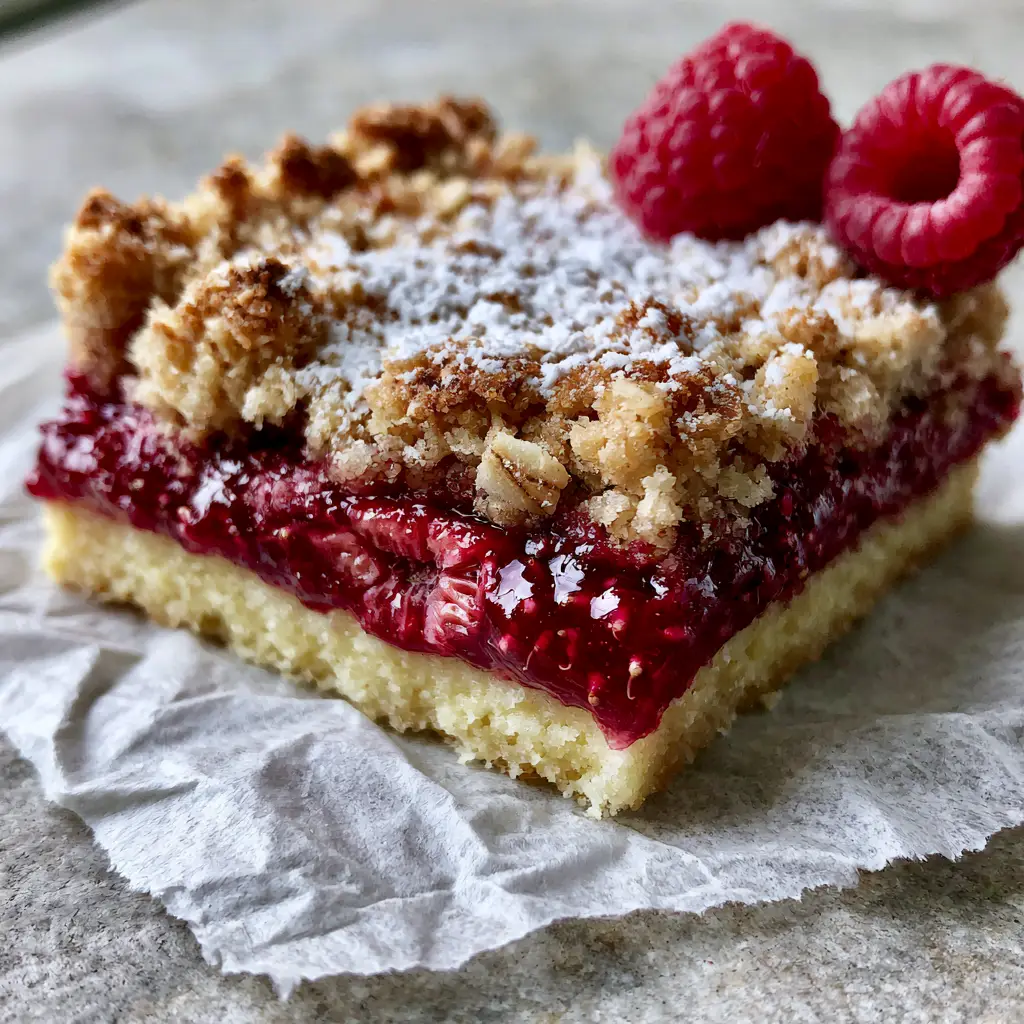
To achieve the macro-shot perfection of these raspberry crumble bars, you need the right tools. A standard 8×8 inch (20×20 cm) square baking pan is essential for getting that “thick-cut square” look. Using a larger pan will result in thin, flimsy bars that lack the dramatic jammy center.
You will also need plenty of white parchment paper. Don’t just grease the pan; line it with a parchment overhang. This allows you to lift the entire block of bars out at once, ensuring clean cuts and providing that “rustic, crinkled” aesthetic for your serving presentation.
A pastry cutter or two forks will help you work the cold butter into the oats without melting it with your hands. Finally, a fine-mesh sieve is non-negotiable for the powdered sugar dusting to ensure no large clumps distract from the beautiful texture of the oatmeal crumble.
Step-by-Step Instructions: Building the Layers
Phase 1: Preparing the Dense Shortbread Base
Preheat your oven to 350°F (175°C). Line your square pan with parchment paper, leaving an inch of overhang on the sides. In a large bowl, cream the softened butter and granulated sugar until light and fluffy. This should take about 2-3 minutes of vigorous mixing.
Gradually add the flour, vanilla, and salt. Mix until a soft dough forms. Press this mixture firmly into the bottom of your prepared pan. Use the bottom of a flat measuring cup to ensure the crust is perfectly level. Bake for 15-18 minutes until the edges are just barely set, but the center remains pale and buttery.
Phase 2: Simmering the Deep Ruby-Red Jam
While the crust pre-bakes, combine the raspberries, sugar, lemon juice, and cornstarch in a small saucepan over medium heat. Stir gently, breaking up some berries but leaving others whole to ensure those visible fruit segments remain.
Cook for about 5-8 minutes until the mixture thickens and coats the back of a spoon. It should look like a glossy, deep ruby-red jam. Set it aside to cool slightly. The smell of cooked raspberries should be intense and bright.
Phase 3: Creating the Chunky Oatmeal Crumble
In a separate bowl, whisk together the oats, brown sugar, and a pinch of flour. Cut in the cold, cubed butter using a pastry blender. Stop when you see “heavy, chunky clusters” the size of peas. You want to see distinct oat flakes that haven’t been pulverized.
Take the pre-baked crust out of the oven. Pour the raspberry mixture over the warm crust, spreading it to the edges. Sprinkle the oatmeal crumble generously over the top, ensuring there are plenty of clusters and visible oat flakes covering the jam.
Phase 4: The Final Bake and Cooling Cues
Return the pan to the oven and bake for another 25-30 minutes. You are looking for a specific visual cue: the raspberry filling should be bubbling at the edges, and the oat topping must be a “heavy golden-brown.” The smell of toasted oats and cooked sugar will fill your kitchen.
Crucially, you must let these raspberry crumble bars cool completely in the pan for at least 2 hours. If you cut them while warm, the jam layer will run. For the cleanest macro-perfect squares, refrigerate them for an additional hour before lifting the parchment paper out and slicing with a sharp knife.
Expert Tips for Bakery-Style Results
- The Parchment Trick: Always crinkle your parchment paper before lining the pan. This prevents it from sliding around and gives the bars that rustic edge seen in professional food photography.
- Don’t Over-process the Crumble: If you mix the topping too much, the butter will melt, and you’ll lose those beautiful chunky clusters. Keep it cold!
- Fresh Garnish: Only add the fresh raspberries and the powdered sugar dusting right before serving. This prevents the sugar from dissolving into the moisture of the jam.
- Slicing for the Camera: Wipe your knife with a damp cloth between every single cut. This ensures the “deep ruby-red” jam doesn’t smear onto the “pale buttery shortbread” base.
Storage, Freezing, and Freshness
These raspberry crumble bars stay fresh at room temperature in an airtight container for up to 2 days. For longer storage, keep them in the refrigerator for up to 5 days. The cold temperature actually firms up the shortbread, making them a delightful chilled snack.
If you want to freeze them, wrap individual squares in plastic wrap and place them in a freezer-safe bag for up to 3 months. Thaw them at room temperature for an hour before serving. To restore the crunch of the oatmeal topping, you can pop a thawed bar into a toaster oven for 2-3 minutes at 300°F (150°C).
What to Serve with Raspberry Crumble Bars
These bars are versatile enough for brunch or dessert. For a savory brunch pairing, serve them alongside a zesty street corn chicken salad. The sweetness of the corn complements the tartness of the raspberries unexpectedly well.
If you are serving these as a mid-day snack, consider pairing them with a savory vegetable side like a zucchini and feta casserole. The salty cheese provides a sophisticated counterpoint to the buttery shortbread. For a true dinner-to-dessert transition, follow a meal of juicy steak bites with a chilled square of these fruit bars.
Frequently Asked Questions
Old-fashioned rolled oats provide the best texture. You can substitute with chopped nuts like pecans or walnuts for extra crunch, but avoid instant oats as they will become mushy.
Yes, you can use frozen raspberries. Do not thaw them before cooking the jam layer, but you may need to add an extra 2-3 minutes of simmering time to evaporate the excess moisture.
Powdered sugar will eventually dissolve into the moisture of the jam. For the best visual result, dust the bars immediately before serving or photographing.
The secret is patience. The bars must be completely cooled, preferably chilled in the fridge, before slicing. Use a sharp knife and wipe it clean between every cut for perfect macro-shot edges.
A soggy bottom usually happens if the crust wasn’t pre-baked long enough or if the jam filling was too watery. Ensure the jam is thickened with cornstarch and the crust is pale but firm before adding the fruit.
The Ultimate Raspberry Crumble Bars Recipe
Raspberry Crumble Bars with a Buttery Shortbread Crust and Golden Oat Topping
Ingredients
Equipment
Method
- Cream softened butter and sugar. Mix in flour, vanilla, and salt. Press into a parchment-lined 8x8 pan.
- Bake the crust at 350°F (175°C) for 15-18 minutes until pale but set.
- Simmer raspberries, sugar, lemon juice, and cornstarch until thickened and ruby-red.
- Cut cold butter into oats and brown sugar until chunky clusters form.
- Spread raspberry filling over crust, top with oat crumble.
- Bake for 25-30 minutes until topping is golden-brown and filling is bubbling. Cool completely before slicing.
Notes
Use cold butter for the topping to achieve the best chunky clusters.
Closing & Call to Action
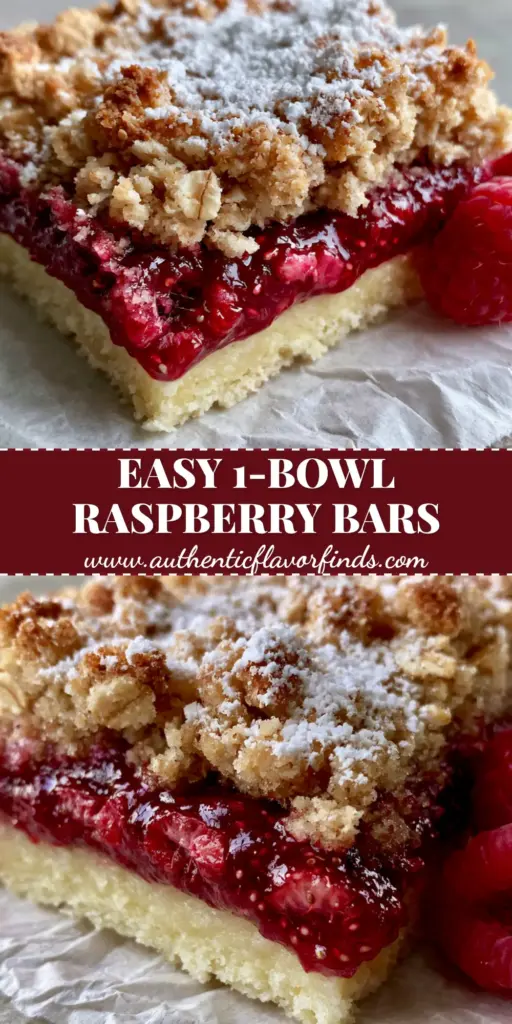
There is nothing quite like the satisfaction of peeling back that crinkled parchment paper to reveal a perfectly layered tray of raspberry crumble bars. With their buttery base, oozing fruit center, and toasted oat topping, they are a masterclass in texture and flavor. I hope this recipe brings a little morning sunlight into your kitchen!
If you enjoyed making these, please leave a comment below and let me know how they turned out. Don’t forget to sign up for our newsletter for more elite-level recipes. You can also save this recipe to your dessert boards by following us on Pinterest!