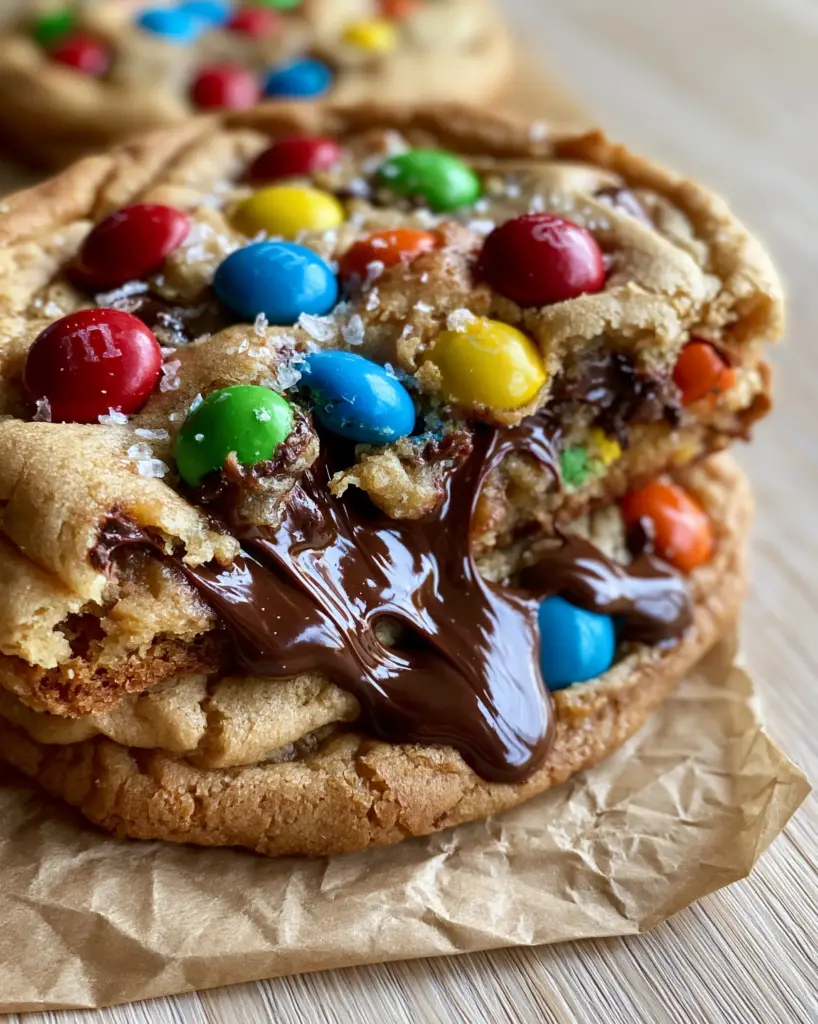
There is nothing quite like the nostalgic joy of a perfect M&M cookie, but we aren’t talking about the thin, crunchy versions from a grocery store box. We are talking about ultra-thick, bakery-style M&M cookies that boast a golden-brown, caramelized crust and a center so soft it practically melts on your tongue.
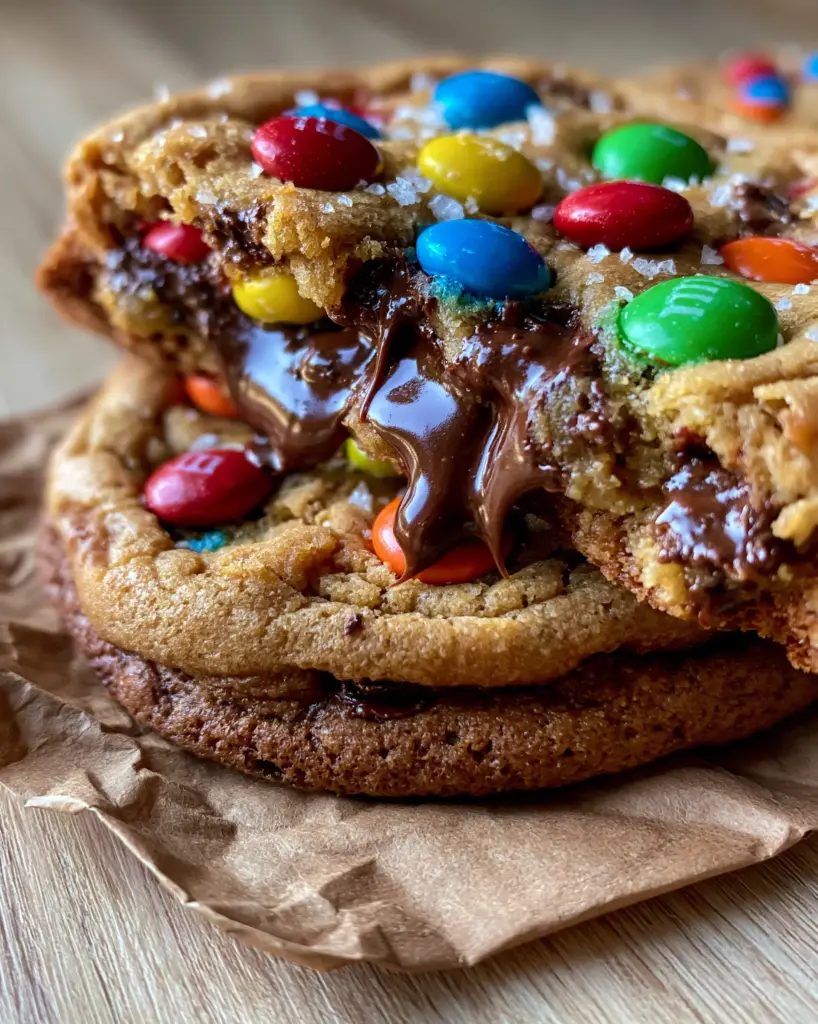
This recipe was engineered to recreate the specific magic of a high-end artisanal bake shop: glistening pools of melted semi-sweet chocolate stretching between a chewy dough, all studded with vibrant, un-cracked M&M candies. If you have ever wondered how professional bakers get those perfectly round, thick cookies with sea salt sparkling on top, you are in the right place.
By focusing on the science of dough hydration and temperature control, we ensure that every bite of these M&M cookies delivers a symphony of textures. From the delicate crinkles on the surface to the gooey, soft-baked interior, this is the only recipe you will ever need to satisfy your cookie cravings.
Why These Bakery-Style Treats Stand Out From the Crowd
- Ultra-Thick Architecture: These aren’t flat pancakes; they are massive, substantial cookies with a structural integrity that keeps them soft for days.
- Gooey Chocolate Pools: By using a combination of chopped semi-sweet chocolate and whole M&Ms, we create deep pockets of melted cocoa that provide a luxurious mouthfeel.
- Vibrant Visual Contrast: We use a specific technique to ensure the red, blue, green, yellow, and orange M&Ms stay whole, un-cracked, and never bleed into the dough.
- The Salty-Sweet Balance: A generous dusting of flaky sea salt elevates the sugar profile, highlighting the rich butter and vanilla notes.
The Scientific Essentials for the Perfect Golden-Brown Dough
Unsalted Butter (1 cup / 227g): We use softened butter to create a stable emulsion with the sugars, providing that classic “melt-in-your-mouth” texture. Cold-to-the-touch butter ensures the cookies don’t spread too rapidly in the oven.
Brown Sugar (1 cup / 200g): The high molasses content in brown sugar is the secret to the “chewy” factor and those beautiful caramelized edges we see in professional M&M cookies.
Granulated White Sugar (1/2 cup / 100g): While brown sugar adds chew, white sugar provides the crispness at the edges and helps the surface develop those delicate, sought-after crinkles.
Large Eggs (2 + 1 Egg Yolk): Adding an extra egg yolk increases the fat content and emulsifiers, resulting in an incredibly gooey, soft-baked center that looks just like a professional photo.
All-Purpose Flour (3 cups / 375g): This provides the necessary protein structure to hold up all that chocolate without making the cookie feel like a brick.
Cornstarch (1 tbsp / 8g): This is a “hidden” ingredient that softens the flour’s proteins, ensuring the cookies stay “bakery-soft” even after they have cooled completely.
Semi-Sweet Chocolate Chunks (1 cup / 170g): Chunks or hand-chopped bars create the “glistening pools” seen in the visual blueprint, which chips alone cannot achieve.
M&M Candies (1 ½ cups / 300g): We use a mix of red, blue, green, yellow, and orange candies, reserving a handful to press into the tops for that perfect, un-cracked finish.
Flaky Sea Salt (to taste): Large salt crystals like Maldon add a visual sparkle and a sharp contrast to the sweet semi-sweet chocolate pools.
Professional Tools for Success
To achieve the “ultra-thick” look of professional M&M cookies, you will need a few specific items. A heavy-duty baking sheet ensures even heat distribution so the bottoms don’t burn before the centers are set. Wrinkled brown parchment paper is not just for the aesthetic; it provides a non-stick surface that allows the dough to expand and contract naturally without sticking.
A large cookie scoop (3 tablespoons or 45ml capacity) is essential for consistent sizing, which ensures every cookie in the batch bakes at the same rate. Finally, a wire cooling rack is necessary to stop the cooking process immediately, preventing the carry-over heat from drying out that gooey center.
Mastering the Mix: Step-by-Step Instructions
Creaming for Structure and Aeration
In a large stand mixer, combine your softened unsalted butter with the brown and white sugars. Beat on medium-high for at least 3-5 minutes until the mixture is pale and fluffy. This process, known as creaming, traps air pockets that will expand in the oven, helping achieve that thick, bakery-style height.
Incorporating the Richness
Add your two eggs and the extra egg yolk one at a time, followed by 2 teaspoons (10ml) of high-quality vanilla extract. Mix until just combined. You should see a smooth, glossy batter that smells intensely of caramel and cream.
Folding the Dry Ingredients
Whisk together the flour, cornstarch, 1 teaspoon (6g) of baking soda, and ½ teaspoon (3g) of fine sea salt. Gradually add this to the wet ingredients on low speed. Stop mixing the moment you see the last streak of white flour disappear to avoid overworking the gluten, which would make the M&M cookies tough.
The Forensic Chocolate Placement
Fold in your semi-sweet chocolate chunks and 1 cup (200g) of the M&M candies by hand. Once the dough is formed, chill it in the refrigerator for at least 30 minutes. This is a non-negotiable step; cold dough spreads less, ensuring those cookies stay thick and “ultra-chewy” rather than thin and crispy.
Baking for the Perfect Visual Cue
Preheat your oven to 350°F (175°C). Scoop large mounds of dough onto your wrinkled parchment paper. Before sliding them into the oven, gently press the remaining ½ cup of M&Ms into the tops of the dough balls. This ensures the candies stay “un-cracked” and “un-bled” because they aren’t subjected to the internal pressure of the rising dough.
Bake for 10-12 minutes. Look for the “visual cue”: the edges should be a warm golden-brown and slightly set, but the centers should still look slightly “underdone” and soft. They will firm up on the hot pan as they cool.
Expert Tips for Bakery-Standard Results
- The “Scoot” Technique: If your cookies come out slightly irregular, place a large circular glass or cookie cutter over them immediately after they leave the oven and gently “scoot” them in a circular motion to create perfectly round edges.
- Avoid the Crack: To keep M&Ms from cracking, ensure they are fresh and added to the surface of the dough *after* the dough has been chilled but *before* it goes in the oven.
- Temperature Matters: If your kitchen is hot, keep the dough in the fridge between batches. Warm dough is the enemy of a thick cookie.
- Salt Timing: Apply the flaky sea salt immediately after the cookies exit the oven. The residual heat helps the crystals “tack” to the chocolate pools so they don’t fall off.
Storage and Reheating for Longevity
These M&M cookies stay fresh in an airtight container at room temperature for up to 4 days. If you want to recreate that “fresh from the oven” experience with the glistening chocolate pools, microwave a single cookie for 8-10 seconds. This will re-soften the butter and melt the chocolate chunks without overcooking the dough.
You can also freeze the portioned dough balls for up to 3 months. When the craving strikes, bake them directly from frozen, adding 2 minutes to the total bake time. This is a great way to always have “bakery-style” treats ready for guests.
What to Serve with These Decadent Cookies
While a cold glass of milk is the traditional choice, these rich M&M cookies also pair beautifully with savory snacks to balance the sweetness. If you are hosting a casual get-together, consider serving them alongside creamy pickle poppers for a fun “sweet and salty” party spread.
For a full dessert table, they complement caramel-filled cookies perfectly, offering a variety of chocolate textures. If you’re looking for something lighter to serve before dessert, a crisp chilled cucumber salad provides a refreshing palate cleanser before diving into the rich, buttery dough.
Frequently Asked Questions
While you can use chips, chopped chocolate bars contain less stabilizer and melt into the ‘glistening pools’ seen in bakery-style cookies. Chips are designed to hold their shape, so chunks are better for that gooey texture.
While optional, flaky sea salt acts as a flavor enhancer. It cuts through the richness of the butter and the sweetness of the chocolate, making the flavors ‘pop’ and providing a professional, sparkly finish.
The most important factor is chilling the dough. Cold butter and flour take longer to melt in the oven, allowing the edges to set before the center collapses. Additionally, ensure your baking sheets are completely cool before placing a new batch of dough on them.
Cornstarch and an extra egg yolk are the keys. Cornstarch interferes with gluten development for a tender crumb, while the extra yolk adds moisture and fat that prevents the cookies from drying out at room temperature.
M&Ms crack when they are subjected to the internal pressure of the cookie rising. To keep them whole and vibrant, press extra candies onto the surface of the dough mounds immediately before baking, rather than mixing them all into the batter.
The Ultimate Thick and Gooey M&M Cookie Recipe
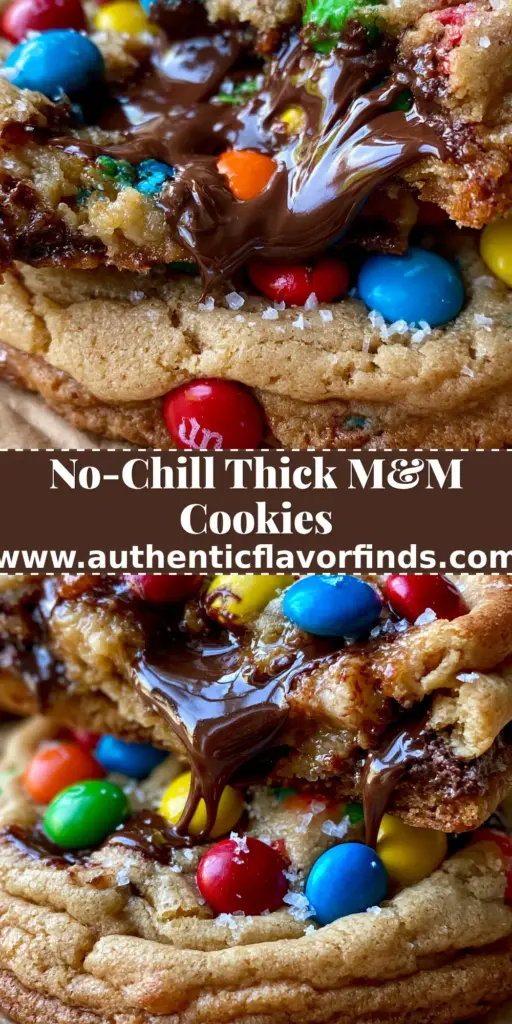
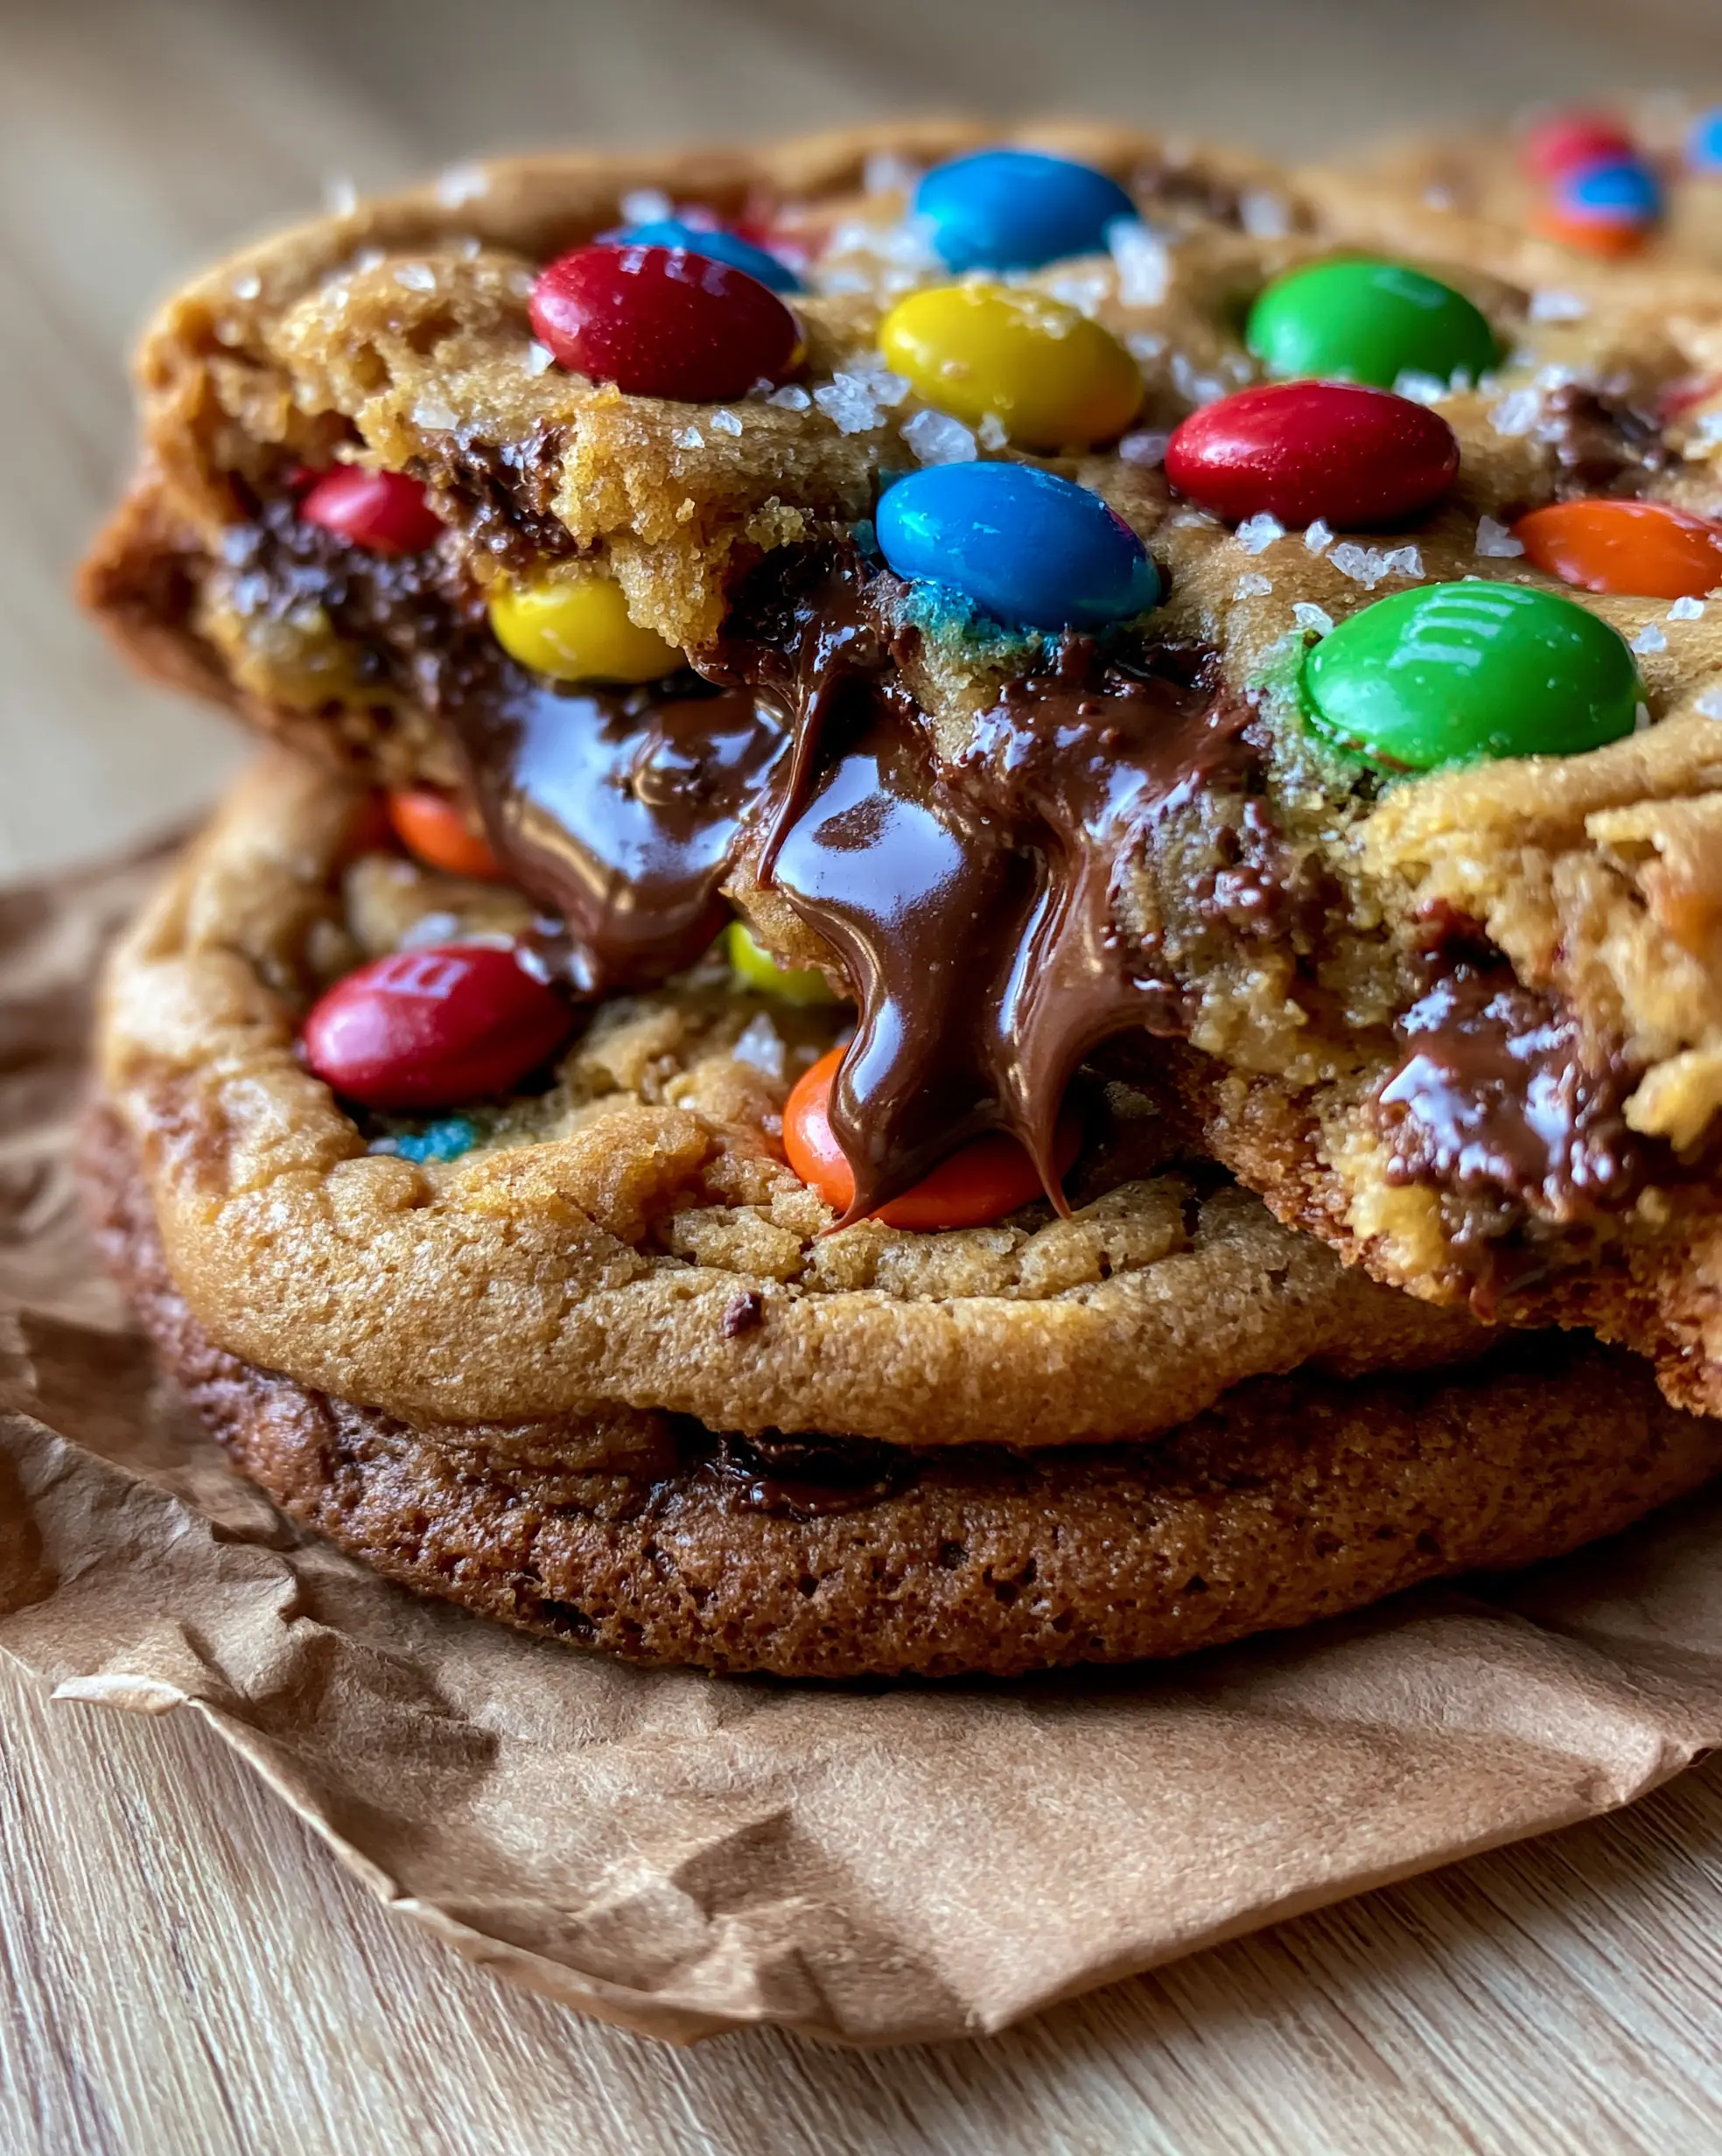
M&M Cookies: The Ultimate Thick and Chewy Bakery-Style Recipe
Ingredients
Equipment
Method
- Cream the softened butter, brown sugar, and white sugar in a stand mixer for 3-5 minutes until pale and fluffy.
- Mix in the eggs, egg yolk, and vanilla extract until smooth and glossy.
- Slowly fold in the flour, cornstarch, baking soda, and salt on low speed until just combined.
- Fold in the chocolate chunks and 1 cup of M&Ms. Chill the dough in the refrigerator for at least 30 minutes.
- Preheat oven to 350°F (175°C). Scoop 3-tbsp mounds onto parchment, press remaining M&Ms on top, and bake for 10-12 minutes until edges are golden.
Notes
Use chopped chocolate bars instead of chips for better melting pools.
Closing & Call to Action
Mastering the art of the bakery-style M&M cookie is all about patience and high-quality ingredients. By following these forensic steps—from the chilled dough to the hand-placed candies—you can create a dessert that looks exactly like it came from a professional kitchen. The combination of caramelized edges, gooey chocolate pools, and vibrant M&Ms is a guaranteed crowd-pleaser.
Did your cookies come out thick and chewy? We want to see your results! Leave a comment below or share your baking photos with us. Don’t forget to save this recipe to your favorite boards on Pinterest so you can bake a batch whenever the craving hits!