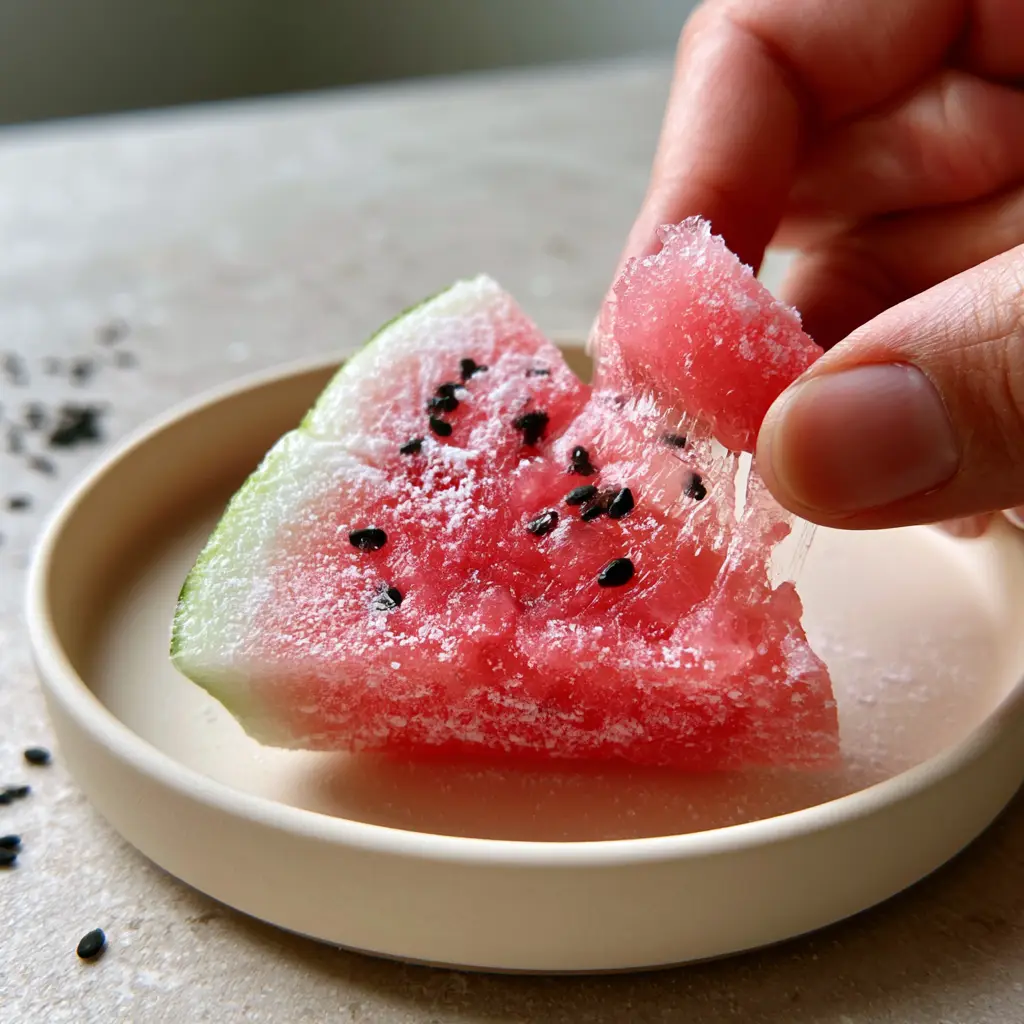
There is something undeniably magical about the first time you pull apart a piece of fresh, homemade watermelon mochi. The way the vibrant pink center yields to a gentle tug, stretching into a translucent, elastic ribbon of pure “QQ” texture, is a sensory experience that store-bought versions simply cannot replicate.
This recipe isn’t just about creating a dessert; it is about mastering the art of Wagashi-inspired confections that look as vibrant as they taste. We are going to craft a thin, matcha-green rind that encases a juicy-looking pink dough, punctuated by the nutty crunch of toasted black sesame seeds.
Whether you are a seasoned fan of Japanese sweets or a curious home cook, this guide will walk you through the science of glutinous rice flour. Get ready to transform humble ingredients into a plate of stunning mini watermelon slices that practically glow under soft morning light.
Why You Will Fall in Love With This Vibrant Watermelon Mochi
- The Perfect “QQ” Texture: This recipe focuses on achieving that coveted bouncy, elastic, and chewy mouthfeel that defines high-quality mochi.
- Stunning Visual Accuracy: With a thin matcha rind and embedded sesame seeds, these treats look exactly like miniature, hand-carved watermelon wedges.
- Natural Flavor Profiles: We balance the sweetness with the earthy notes of premium matcha and the toasted aroma of black sesame.
- Impressive Elasticity: Thanks to specific steaming techniques, the dough remains translucent and stretchy even after cooling.
The Anatomy of a Perfect Mochi: Essential Ingredients
To achieve the specific visual results of our watermelon mochi, we must select our flours and colorants with forensic precision. Not all rice flours are created equal, and the secret to the translucency lies in the quality of your starch.
Shiratamako (Glutinous Rice Flour): 1.5 cups (200g)
Unlike standard mochiko, shiratamako comes in small granules and provides a more refined, elastic, and bouncy texture. It is the gold standard for achieving that “QQ” snap when you bite into the pink center.
Granulated Sugar: 0.5 cup (100g)
Sugar acts as a softener in this recipe, preventing the rice starches from recrystallizing and becoming hard. It ensures your mochi stays soft and pliable at room temperature for hours.
Filtered Water: 1 cup (240ml)
Water hydrates the rice flour to create a smooth slurry before steaming. Using filtered water ensures no mineral aftertaste interferes with the delicate matcha and watermelon-inspired visuals.
Matcha Powder: 1 tsp (2g)
This provides the “rind” with its characteristic pale green hue. The slight bitterness of the matcha perfectly offsets the sweetness of the glutinous rice dough.
Beet Juice or Pink Food Coloring: 1/4 tsp (1.25ml)
To achieve the vibrant pink center seen in our visual blueprint, a high-quality gel coloring or concentrated beet juice is essential for a deep, translucent glow.
Toasted Black Sesame Seeds: 1 tbsp (9g)
These serve as the “seeds” of our watermelon. They provide a necessary textural contrast—a tiny crunch within the soft, pillowy dough.
Katakuriko (Potato Starch): 0.5 cup (65g)
This is used exclusively for dusting. It provides that soft, matte finish that prevents the mochi from sticking to your hands without adding a gritty flavor.
Neutral Oil: 1 tsp (5ml)
A tiny amount of flavorless oil (like grapeseed) is added to the dough to enhance the sheen and prevent excessive sticking during the folding process.
Tools for Mastering the Art of Japanese Sweets
Achieving the perfect watermelon mochi requires more than just ingredients; it requires the right environment for the rice starch to gelatinize. You will need a heat-proof glass bowl for mixing and a traditional steamer setup (or a microwave if you are in a rush).
A silicone spatula is non-negotiable here. The dough is incredibly sticky during the cooking process, and silicone allows you to fold and knead the dough effectively without losing half of it to the sides of the bowl. You will also want a sharp, non-serrated knife, which you should lightly coat in potato starch before every cut.
Step-By-Step: Crafting the Stretchy Pink Center
1. Hydrating the Shiratamako
In a medium heat-proof bowl, whisk together the shiratamako and sugar. Slowly pour in the water, whisking constantly until the granules have completely dissolved and the mixture is as smooth as heavy cream.
At this stage, split the mixture into two bowls. About 80% of the mixture will become the pink “flesh” of our watermelon, while the remaining 20% will be reserved for the green rind.
2. Pigmenting the Dough
Add your pink coloring to the larger portion of the mixture. Stir until the color is uniform and vibrant. You want the color to be slightly darker than your target, as it will become more translucent and “glowy” once steamed.
In the smaller bowl, sift in the matcha powder. Use a small whisk to ensure no green clumps remain. This will create the thin, matcha-green mochi rind that defines the exterior of our treat.
3. The Steaming Process
Cover the pink mixture with a damp cloth and place it in a steamer over boiling water for 15-20 minutes. If using a microwave, cover with plastic wrap and heat in 45-second intervals, stirring vigorously between each session.
Look for the visual cue: the dough is done when it changes from opaque white-pink to a translucent, slightly darker, and very glossy pink. It should pull away from the sides of the bowl in one cohesive, elastic mass.
Assembling the Miniature Watermelon Slices
Kneading in the “Seeds”
Once the pink dough is steamed and still warm, sprinkle in the toasted black sesame seeds. Fold the dough over itself repeatedly using a greased spatula.
This process ensures the seeds are “embedded” throughout the center, just like a real watermelon. The heat of the dough will also slightly release the oils from the sesame, adding a faint toasted aroma to every bite.
Creating the Dual-Tone Rind
Steam the green matcha dough using the same method until it is translucent and stretchy. On a surface heavily dusted with katakuriko (potato starch), roll the green dough into a very thin, long rectangle.
Shape the pink dough into a long cylinder. Place the pink cylinder in the center of the green sheet and wrap the green dough around it, pinching the seam to seal. This creates the classic watermelon look.
The Final Cut and Dusting
Using a floured knife, slice the log into rounds, then cut each round into halves or quarters to create “wedges.” Dust the cut sides lightly with a fine white starch dusting to give it that soft, matte appearance.
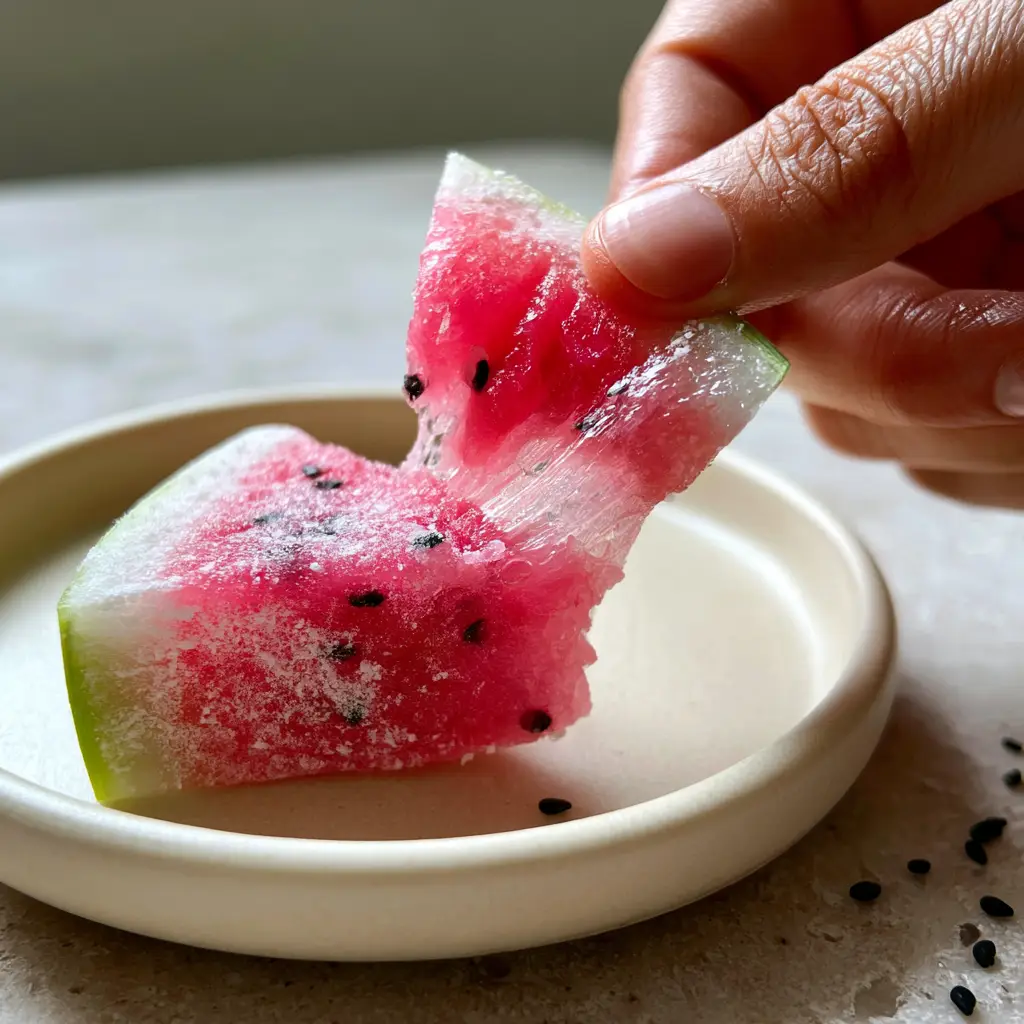
The final result should show the thin green rind hugging the vibrant pink center. When you pull a piece apart, it should exhibit that signature elastic “QQ” stretch we saw in our initial vision.
Expert Tips for Mochi Success
- Temperature Control: Always work with the mochi while it is warm. Once it cools completely, it becomes much harder to shape and seal.
- Starch Management: Be generous with the potato starch on your hands and work surface, but use a soft pastry brush to remove excess from the final product for a clean look.
- The Elasticity Secret: If your mochi isn’t stretchy enough, it likely needs another minute of steaming. The starch must be fully gelatinized to achieve the “QQ” texture.
- Avoid Humidity: Mochi’s worst enemy is moisture. Ensure your storage container is airtight and keep the finished treats in a cool, dry place.
What to Serve With Watermelon Mochi
These adorable treats are traditionally served during tea ceremonies or as a refreshing summer dessert. They pair beautifully with a cold glass of iced green tea or even a side of fresh fruit.
If you are looking for more fruit-inspired Japanese desserts, you might also enjoy our strawberry mochi or the tropical flavors of mango mochi. For a full summer spread, consider serving these alongside a crisp cucumber salad to balance the sweetness.
If you’re hosting a larger gathering, these make a great follow-up to savory dishes like chicken enchiladas or a light street corn chicken salad.
Frequently Asked Questions
For the best results, no. Shiratamako is processed specifically to provide a smoother, more elastic texture. Regular glutinous rice flour (Mochiko) can be used but will result in a denser, less translucent mochi.
Traditionally, the flavor comes from the sugar and matcha rind. However, you can add a drop of watermelon extract or use concentrated watermelon juice instead of water for an authentic flavor profile.
The secret is Katakuriko (potato starch). Use it liberally on your hands, tools, and work surface. You can also lightly grease your spatula with a neutral oil.
Homemade mochi is best enjoyed within 24 hours. Keep it in an airtight container at room temperature. Avoid refrigerating it, as the cold temperatures cause the starch to harden.
‘QQ’ is a term used in Asian culinary culture to describe a texture that is uniquely bouncy, rubbery, and elastic—offering a satisfying resistance when bitten into.
The Ultimate Watermelon Mochi Recipe
Watermelon Mochi Recipe: How to Make Stretchy and Soft Japanese Treats
Ingredients
Equipment
Method
- Whisk shiratamako, sugar, and water until completely smooth and granules disappear.
- Split mixture: color 80% pink and 20% with matcha green powder.
- Steam pink dough for 15-20 minutes until translucent, glossy, and elastic.
- Fold toasted black sesame seeds into the warm pink dough using a greased spatula.
- Roll out steamed green dough thinly. Wrap it around a cylinder of the pink dough.
- Cut the log into watermelon-shaped wedges and dust with potato starch.
Notes
Use high-quality matcha for the best green rind color.
Closing & Call to Action
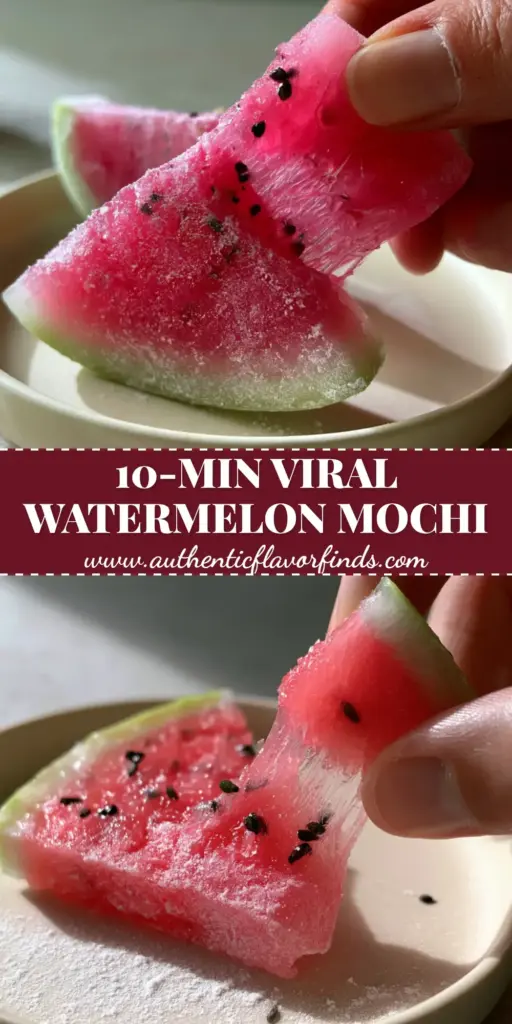
Mastering the watermelon mochi is a rewarding journey into the world of Japanese textures and aesthetics. The combination of the “QQ” elasticity and the playful watermelon design makes this a guaranteed showstopper at any gathering. The translucent center and fine matte finish are marks of a truly professional-grade homemade sweet.
Did you manage to get that perfect stretch? We would love to see your creations! Leave a comment below or share your photos on social media. Don’t forget to follow us on Pinterest for more visually stunning recipe inspiration.