There is something inherently nostalgic about the flavor of a classic birthday cake, but when you marry that whimsical sweetness with the sophisticated, tangy profile of a dense cheesecake, magic happens. This Birthday Cake Cheesecake isn’t just a dessert; it’s a sensory experience designed to stop your guests in their tracks.
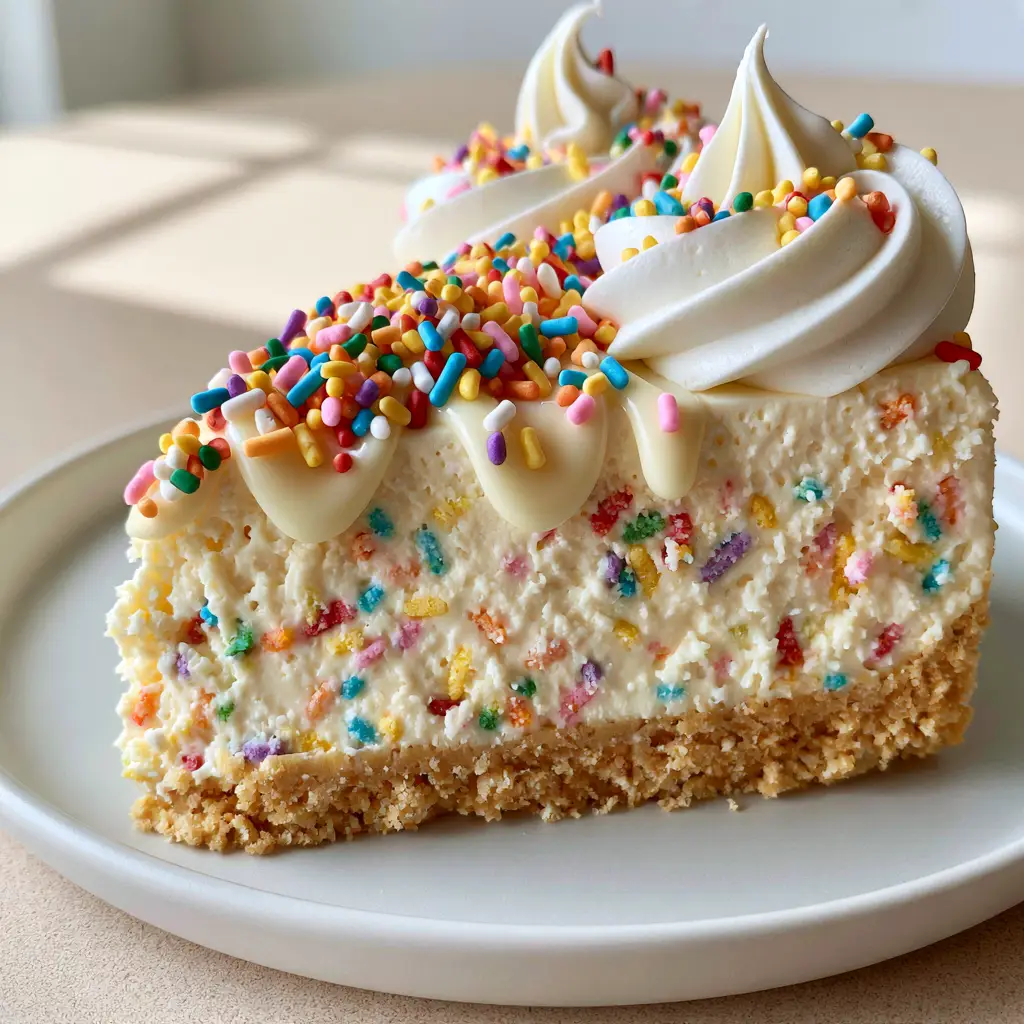
Imagine a thick, golden-brown crust made from buttery crushed Golden Oreos, providing a toasted vanilla base that rivals any traditional graham cracker alternative. On top sits a velvety, pale cream-colored filling, packed with suspended rainbow sprinkles that look like confetti frozen in time. It’s finished with elegant swirls of piped white whipped cream and a glossy white chocolate drizzle that catches the light perfectly.
Whether you are celebrating a milestone or simply craving a festive treat that doesn’t require turning on the oven, this recipe delivers professional results with home-kitchen ease. Let’s dive into the science and artistry of creating this stunning centerpiece.
Why This No-Bake Birthday Cake Cheesecake Works
- The Perfect Texture: Unlike baked versions that can sometimes become grainy, this no-bake method ensures a silky, velvety mouthfeel that melts instantly.
- Visual Showstopper: With its bright rainbow jimmies and glossy white chocolate glaze, it mirrors the high-end aesthetic of a professional bakery.
- Make-Ahead Convenience: Because it requires a long chill time to set the cream cheese structure, it is the ideal dessert to prepare 24 hours in advance.
- Balanced Flavor Profile: We balance the intense sweetness of the white chocolate and Golden Oreos with a high-quality, tangy cream cheese and a hint of salt.
The Anatomy of a Golden Oreo Crust
Every great cheesecake starts from the bottom up, and for this Birthday Cake Cheesecake, we are ditching the standard graham cracker for something much more flavorful. Using vanilla-cream sandwich cookies provides a built-in sweetness and a much sturdier structure once chilled.
Golden Oreo Cookies: You will need 30 (approx. 330g) cookies. These provide the essential golden-brown hue and a deep vanilla flavor that anchors the cake batter notes of the filling.
Unsalted Butter: 6 tbsp (85g) of melted butter acts as the “glue.” We use unsalted to control the sodium levels, ensuring the crust remains sweet and buttery rather than salty.
To achieve that professional “thick, golden-brown crust” mentioned in our blueprint, you must pulse the cookies until they are fine crumbs. If the crumbs are too large, the crust will crumble when sliced. Aim for the texture of wet sand once the butter is incorporated.
Essential Ingredients for the Velvety Filling
The filling is the heart of the Birthday Cake Cheesecake. It must be stable enough to hold a clean edge when sliced but soft enough to be described as “velvety.”
Full-Fat Cream Cheese: 24 oz (680g) at room temperature. Do not use low-fat or whipped varieties; the fat content is what provides the structural integrity for a no-bake cake.
Powdered Sugar: 1.5 cups (180g) provides sweetness and contains a small amount of cornstarch, which helps stabilize the unbaked filling.
Heavy Whipping Cream: 1.5 cups (360ml), chilled. We whip this to stiff peaks and fold it into the cream cheese to create that characteristic “dense yet airy” body.
Cake Batter Extract: 1 tsp (5ml). This is the secret to the “Birthday Cake” flavor, mimicking the nostalgic taste of a funfetti box mix.
Rainbow Jimmies: 1/2 cup (80g). Use the long “jimmy” style sprinkles rather than nonpareils. Nonpareils tend to bleed their color, which would ruin the “pale cream-colored” aesthetic of our filling.
Tools You Will Need for Bakery-Quality Results
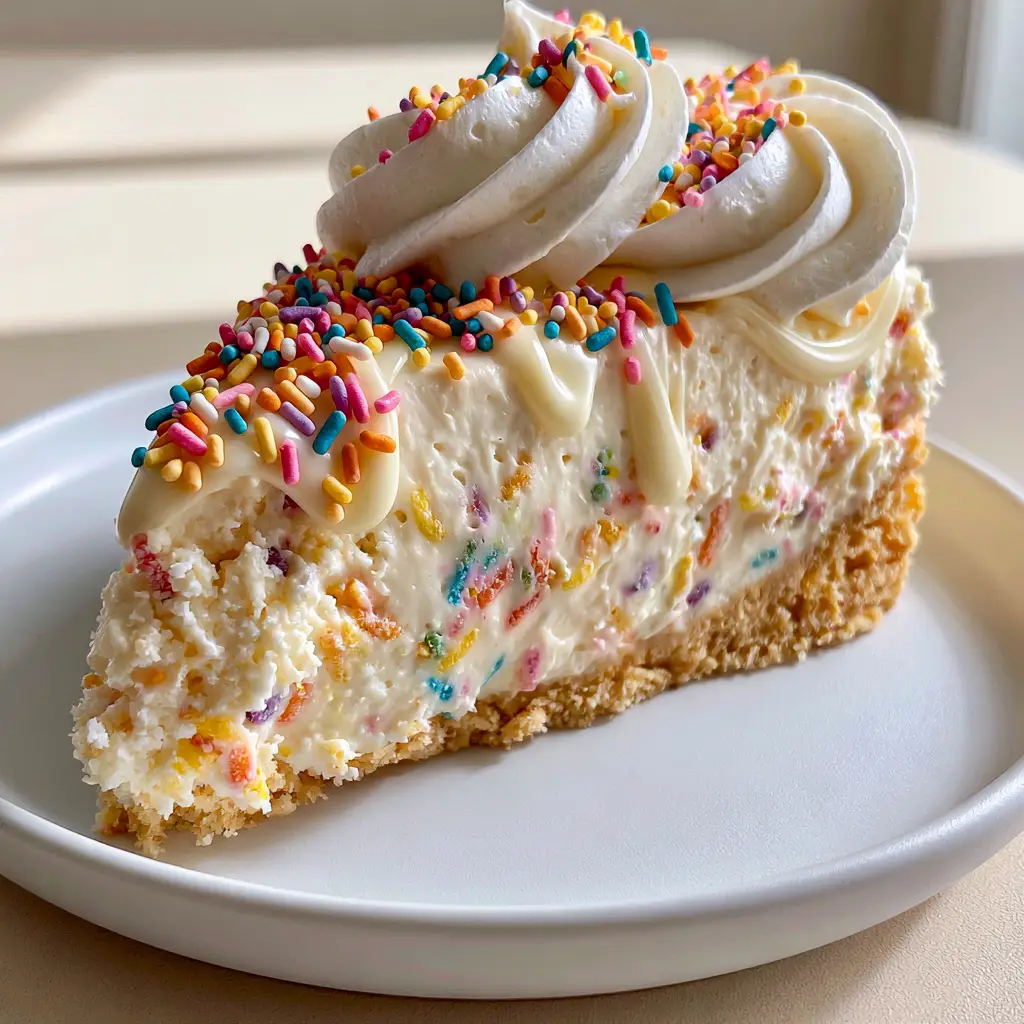
To achieve the modern, clean look of a slice on a matte white ceramic plate, you need the right gear. A 9-inch (23cm) springform pan is non-negotiable, as it allows you to remove the sides without damaging the delicate crust.
An offset spatula is your best friend for smoothing the top of the cheesecake before it sets. This ensures your white chocolate drizzle lays flat and glossy rather than pooling in divots.
Finally, a piping bag fitted with a large star tip (like a 1M or 2D) is essential for those “elegant swirls of piped white whipped cream.” If you simply spoon the cream on, you lose the “modern” and “elegant” finish described in our visual blueprint.
Step-by-Step: Constructing the Masterpiece
Crafting the Buttery Golden Base
Begin by crushing your Golden Oreos in a food processor until no large chunks remain. Pour in your melted butter and pulse until the mixture looks like damp earth.
Press this mixture firmly into the bottom and 1 inch (2.5cm) up the sides of your springform pan. Use the bottom of a flat measuring cup to pack it down tightly; this creates the “thick, golden-brown crust” that supports the dense filling.
Mixing the Velvety Confetti Filling
In a large bowl, beat the room-temperature cream cheese until it is completely smooth and no lumps remain—this usually takes 3-4 minutes. Sift in the powdered sugar and add the cake batter extract, beating until combined.
In a separate chilled bowl, whip your heavy cream until stiff peaks form. Gently fold the whipped cream into the cream cheese mixture using a silicone spatula. The goal is to keep as much air in the mixture as possible while ensuring a uniform, pale cream color.
Lastly, fold in the rainbow jimmies. Work quickly here; you want them “suspended” throughout the filling rather than settled at the bottom. Pour the filling over the crust and smooth the top with your offset spatula.
The Critical Chilling Phase
This Birthday Cake Cheesecake must chill for at least 6 hours, though overnight is preferred. This allows the fats in the cream cheese and heavy cream to solidify, creating that “dense, velvety” texture that is stable enough to stand on a plate without drooping.
The Finishing Touches: Glaze and Garnish
Once the cake is set, it’s time for the “glossy white chocolate drizzle.” Melt 1/2 cup (85g) of white chocolate chips with 2 tbsp (30ml) of heavy cream in 20-second bursts in the microwave. Stir until it is a thin, glossy glaze.
Let the glaze cool slightly so it doesn’t melt the cheesecake. Drizzle it in a zigzag pattern over the top. Immediately follow this with your piped whipped cream swirls around the border and a final scattering of festive rainbow jimmies.
When you take a handheld smartphone photo of your finished slice, the “natural daylight” will catch the gloss of the chocolate and the vibrant colors of the sprinkles, making it look as professional as any bakery display.
Expert Tips for a Flawless Cheesecake
- Temper is Everything: Ensure your cream cheese is truly at room temperature. If it is even slightly cold, you will end up with tiny white lumps that ruin the “velvety” visual.
- Whip the Cream Separately: Many recipes suggest adding liquid cream directly to the cheese, but whipping it first provides a much more stable, “dense” structure.
- The Clean Slice Trick: To get the perfect slice shown on the “modern matte white ceramic plate,” dip your knife in hot water and wipe it clean between every single cut.
- Sprinkle Selection: Avoid “natural” dyed sprinkles if possible, as they tend to fade or bleed into the white filling more easily than standard confectionery jimmies.
Perfect Pairings and Serving Suggestions
This decadent cheesecake is a star on its own, but it pairs beautifully with other celebratory treats. If you’re hosting a full party spread, consider serving it alongside birthday cake pops for a variety of textures.
For a brunch-style celebration, this flavor profile complements a funfetti loaf cake (coming soon) or even a warm cinnamon roll cake. The vanilla and sugar notes tie the whole table together.
If you need a savory counterpoint to all this sweetness, a crisp cucumber salad or a tray of pickle poppers provides the acidic brightness needed to cleanse the palate between bites of rich cheesecake.
Common Questions About No-Bake Desserts
Absolutely. You can freeze it for up to 3 months. Thaw it in the refrigerator for 4-6 hours before serving to maintain the velvety texture.
Yes, but it will change the visual and flavor profile. Regular Oreos will create a dark chocolate crust, whereas Golden Oreos provide the specific vanilla-cake flavor essential for a ‘Birthday Cake’ aesthetic.
Use high-quality ‘jimmies’ (the long rods) rather than ‘nonpareils’ (the tiny balls). Fold them into the thick filling gently at the very last second before pouring into the crust.
Cake batter extract is a concentrated flavoring that tastes like vanilla and almond. It is usually found in the baking aisle or specialty craft stores and gives the cheesecake its nostalgic ‘funfetti’ taste.
The most common reasons are not whipping the heavy cream to stiff peaks or using low-fat cream cheese. Ensure you use full-fat blocks and chill the cake for at least 6-8 hours.
The Ultimate Birthday Cake Cheesecake Recipe
Birthday Cake Cheesecake: The Ultimate No-Bake Celebration Dessert
Ingredients
Equipment
Method
- Pulse Golden Oreos in a food processor until fine crumbs form.
- Mix with melted butter and press firmly into a 9-inch springform pan, going 1 inch up the sides.
- Beat room-temperature cream cheese until smooth. Add powdered sugar and cake batter extract, beating until creamy.
- Whip heavy cream to stiff peaks in a separate bowl. Gently fold into the cream cheese mixture until no streaks remain.
- Fold in the rainbow jimmies and pour over the prepared crust. Smooth the top with an offset spatula.
- Refrigerate for at least 6 hours or overnight until firm.
- Melt white chocolate and cream together. Drizzle over the chilled cake.
- Pipe whipped cream swirls around the border and finish with additional rainbow sprinkles.
Notes
Use long jimmies rather than nonpareils to prevent color bleeding into the pale cream filling.
Closing Thoughts on This Festive Favorite
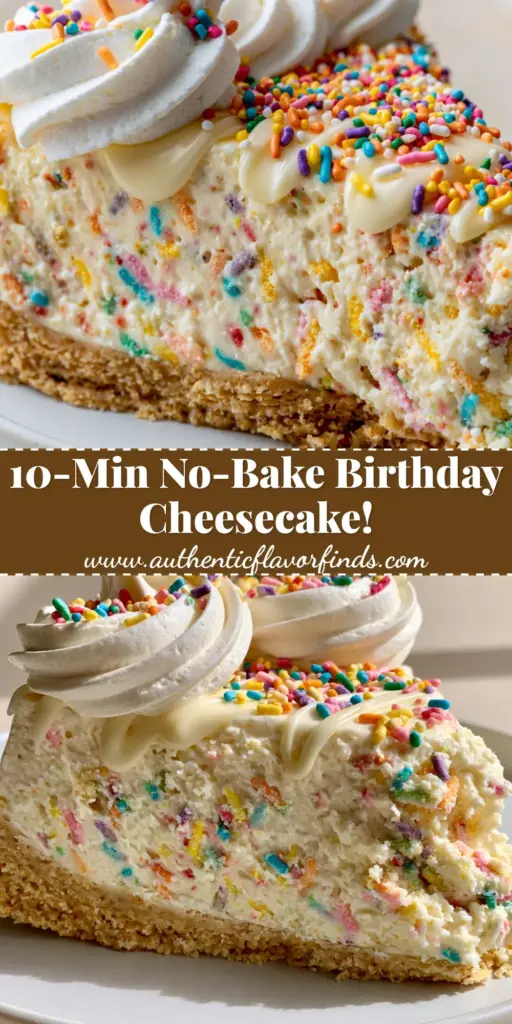
Making a Birthday Cake Cheesecake is about more than just satisfying a sweet tooth; it’s about creating a moment of joy. The combination of the buttery Golden Oreo crust and the sprinkle-filled center brings out the inner child in everyone who takes a bite.
We hope this recipe becomes a staple in your celebration rotation. If you enjoyed this guide, please leave a comment below and share your photos with us! Don’t forget to follow our Pinterest for more culinary inspiration.